What’s going on?”
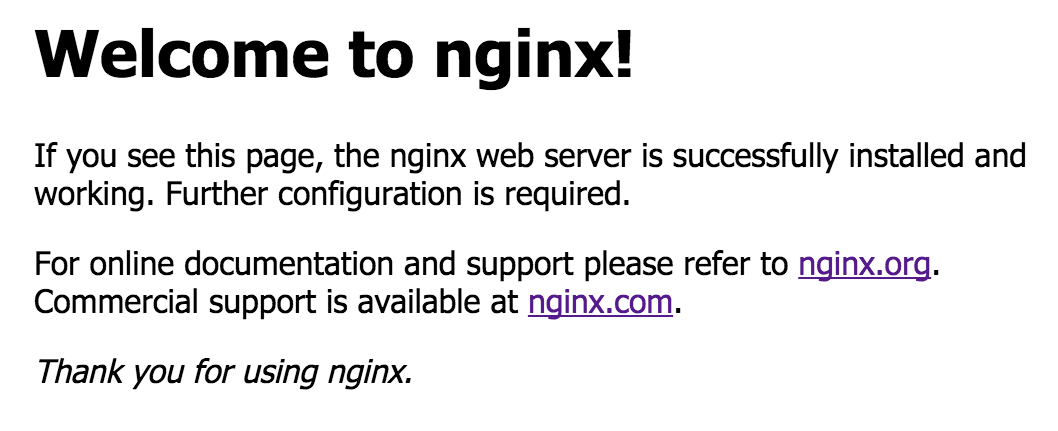
What is the “Welcome to nginx!” Page?
The Welcome to nginx! page is the default web page that is presented when a website operator has installed the NGINX web server software on a computer on the Web, but has not finished configuring it.
The NGINX web server software is used by hundreds of millions of websites worldwide. It’s open source and free to use, so anyone can download and install the software and use it to host a website.
Why Am I Seeing this Page?
When you see the Welcome to nginx! page, the mostly likely reasons are that either there is a configuration problem at the website, or there is a problem on your computer that is causing your web browser to go to the wrong website.
- It might be a temporary problem, in which case it might help to clear your browser cache and history, then restart your computer and home router if necessary. See What Should I Do?.
-
It is also possible that your computer has a virus or other malware that is intercepting your web requests and directing you to the wrong website.
For example, some viruses and malware can control how your computer uses a system called DNS. This system translates website names (such as www.google.com) into computer addresses, just like the contacts list on your mobile phone translates people’s names into phone numbers. When you try to access a website, the virus causes your browser to route your request to an impostor website that might try to steal personal information.
The NGINX software has not been installed on your computer – it runs only on computers that are serving web pages. NGINX is not a virus and has nothing to do with determining which websites your browser accesses.
What Should I Do?
We recommend that you do the following. After each step, test whether the problem is fixed:
- Clear your browser cache and delete your browsing history. Restart your web browser.
- Restart your computer and home router.
-
If you don’t want to investigate the problem yourself, contact a qualified expert – your ISP or support representative – and ask for help scanning your computer for malware and verifying your DNS and network configuration.
If you feel like investigating further, below are some other things for a knowledgeable user to try.
Run a Reputable Virus Scanner
Run a scanner or anti-malware application from a security software company. Windows 8.1 users can use Windows Defender. Windows 7 and Windows Vista users can use Microsoft Security Essentials.
Verify and Reset your Internet Configuration
- Clear your operating system’s DNS cache.
- On Microsoft Vista, Windows 7, and Windows 8: Click on the Start logo, follow All Programs > Accessories, right-click on Command Prompt, choose Run As Administrator, type
ipconfig/flushdns, and press Enter. - On Microsoft Windows XP, go to Start > Run, type
ipconfig/flushdnsin the new terminal window, and press Enter.
- On Microsoft Vista, Windows 7, and Windows 8: Click on the Start logo, follow All Programs > Accessories, right-click on Command Prompt, choose Run As Administrator, type
- Go to your TCP settings (on Windows, Control Panel > Network), and locate the section that lists the DNS servers. Make a note of the current values, and then replace them with 8.8.8.8 and 8.8.4.4. You will then be using Google Public DNS instead of your previous DNS server. For more details, see Get Started page for Google Public DNS.
- Check the hosts file on your computer. Windows users, see How to reset the Hosts file back to the default at the Microsoft Support website.
- Check the plug-ins and extensions installed with your browser. Re-install your browser or try a different one if possible.
Other Useful Resources
- How can you detect if your computer has been violated and infected with DNS Changer? at DCWG.org
- How can you fix, remove, and recover from a DNS Changer Violation? at DCWG.org
- Malicious Software Removal Tool for multiple versions of Windows, at the Microsoft Download Center
- Windows Defender for Windows 8.1, at windows.microsoft.com
- Microsoft Security Essentials for Windows 7 and Windows Vista, at windows.microsoft.com
- How to reset the Hosts file back to the default, at support.microsoft.com
- How to reset TCP/IP by using the NetShell utility, at support.microsoft.com